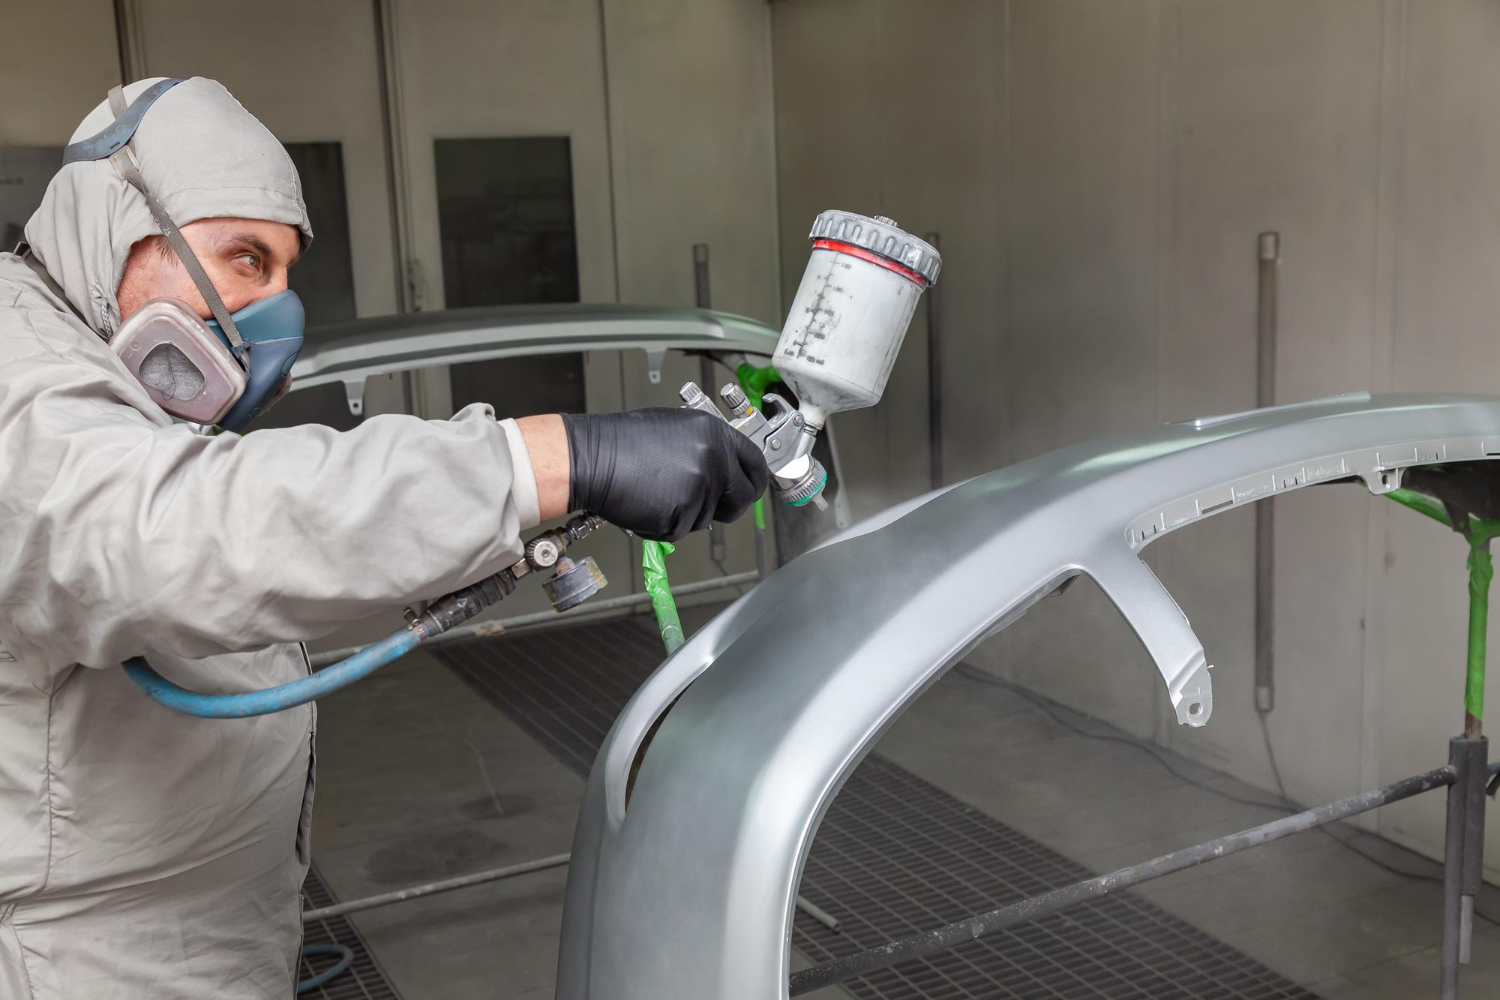
Preparing metal surfaces before painting is crucial. Good preparation can make the paint job last longer and look better. If you skip steps, the paint might chip, peel, or rust quickly. Proper surface preparation can help avoid these problems and save money in the long run. It’s not just about slapping on some paint; it’s about taking the right steps from the start.
Cleaning the metal surface well is the first step. This means removing dirt, grease, and rust. Each of these can prevent paint from sticking properly. Using the right tools and methods makes a big difference. Sometimes, chemical cleaners are needed to get rid of stubborn grime. It’s important to know which ones are safe and effective to use.
Sanding and priming the metal surface are also essential steps. Sanding helps create a smooth surface for the paint to stick to. Primers add an extra layer of protection and help the paint stick better. Using the right primer is important for different types of metal. Some metals need special primers, like etching primers, to ensure good adhesion. By taking these steps, you can ensure a durable and long-lasting paint job.
Understanding the Importance of Surface Preparation
Proper preparation of metal surfaces can mean the difference between a short-lived paint job and one that lasts for years. It’s one of the most important steps to ensure the paint adheres well and performs as expected. If the surface isn’t prepared correctly, paint can peel, chip, or develop rust spots. This not only looks bad but can also lead to costly repairs down the line.
Good surface preparation involves several key steps, including cleaning, removing rust, and applying a suitable primer. Each step has its purpose. Cleaning gets rid of dirt and grime, which can prevent paint from sticking. Removing rust ensures that the surface is smooth and free from corrosion, which can spread under the paint. Applying a primer helps the paint adhere better and provides an extra layer of protection.
Taking the time to prepare surfaces properly might seem like extra work, but it pays off. A well-prepared surface allows the paint to do its job better. You’ll get a smoother finish, longer-lasting protection, and a better-looking result. It’s a small investment of effort that leads to significant benefits.
Steps to Clean Metal Surfaces Before Painting
– Removing Dirt and Grease
Start by cleaning the metal surface thoroughly. Use a degreaser to remove any oil or grease that could interfere with the paint. Soap and water can be effective for lighter dirt. Make sure to scrub the surface well and rinse it with clean water. Dry the surface completely to prevent any moisture from affecting the next steps.
– Eliminating Rust and Corrosion
Rust can be a big problem if not dealt with properly. Use a wire brush or sandpaper to remove rust from the metal surface. For heavier rust, you might need to use a rust remover. Make sure to get into all the nooks and crannies where rust can hide. After removing the rust, clean the area again to remove any leftover dust or debris.
– Using Chemical Cleaners Effectively
Sometimes, water and soap aren’t enough to clean really dirty metal surfaces. That’s when chemical cleaners come into play. Choose a cleaner that’s safe for your specific type of metal. Follow the instructions carefully to avoid damaging the surface. These cleaners can remove stubborn grime that might prevent paint from sticking properly. After using a chemical cleaner, rinse the surface with water and dry it completely.
Cleaning metal surfaces well is the foundation of a good paint job. By removing dirt, grease, and rust, you ensure that the paint can stick, making your paint job last longer and look better.
Techniques for Smoothing and Priming Metal Surfaces
– Sanding and Abrasive Blasting Methods
Sanding is a common method for smoothing metal surfaces. You can use sandpaper or a sanding machine to make the surface even. Start with coarse-grit sandpaper to remove rough spots, then switch to a finer grit for a smooth finish. For larger areas or tougher jobs, abrasive blasting is a good choice. Sandblasting uses high-pressure air and abrasive materials to clean and smooth the surface quickly. This method is very effective for removing old paint, rust, and other surface problems.
– Applying the Right Primer
Once the metal surface is smooth, it’s time to apply a primer. Primer helps the paint stick better and provides extra protection against rust and wear. Use a primer that is made for the type of metal you are painting. For example, some primers are best for steel, while others are better for aluminum. Follow the instructions on the primer can, applying thin and even coats. Make sure the primer is fully dry before moving on to the next step.
– Ensuring Proper Adhesion with Etching Primers
Etching primers are special primers that create a rough surface for the paint to stick to. They are especially useful for metals that are hard to paint, like aluminum or galvanized steel. Etching primers contain chemicals that react with the metal, making it easier for the paint to adhere. Follow the manufacturer’s instructions carefully when using etching primers. Proper use of these primers ensures the paint will stick well and last longer.
Common Mistakes to Avoid During Surface Preparation
– Inadequate Cleaning
One of the most common mistakes is not cleaning the metal surface well enough. Dirt, grease, and rust can all prevent paint from sticking properly. Always take the time to clean the surface thoroughly before you start. Use the right cleaning products and techniques for the job. Remember, a well-cleaned surface sets the stage for a successful paint job.
– Skipping the Primer
Another big mistake is skipping the primer. Primer is essential for good paint adhesion and durability. It also helps protect the metal from rust and wear. Always use a primer, even if the surface looks clean and smooth. The primer will give you a better and longer-lasting finish.
– Ignoring Surface Imperfections
Surface imperfections, such as dents, rough spots, or remaining rust, can cause problems if ignored. These flaws can show through the paint, making the finish look bad. They can also cause the paint to peel or chip later on. Always inspect the surface closely and fix any imperfections before you start painting.
Conclusion
Preparing metal surfaces for industrial painting is a detailed but rewarding process. By understanding its importance, cleaning the surfaces thoroughly, and using the right techniques, you set the foundation for a successful paint job. Each step, from sanding and applying primer to avoiding common mistakes, contributes to the durability and appearance of the finished product.
Don’t rush through the preparation stages, as each one plays a crucial role. Proper preparation not only ensures that the paint sticks better but also helps protect the metal from rust and wear. A smooth, clean, and well-primed surface leads to a professional-looking finish that lasts longer.
If you’re looking to get the best results from your industrial painting project, consider enlisting professional help. Contact Procoat Painting Inc.’s industrial painting contractors today for expert advice and high-quality painting services. We’re here to help you achieve the perfect finish for your industrial surfaces.
